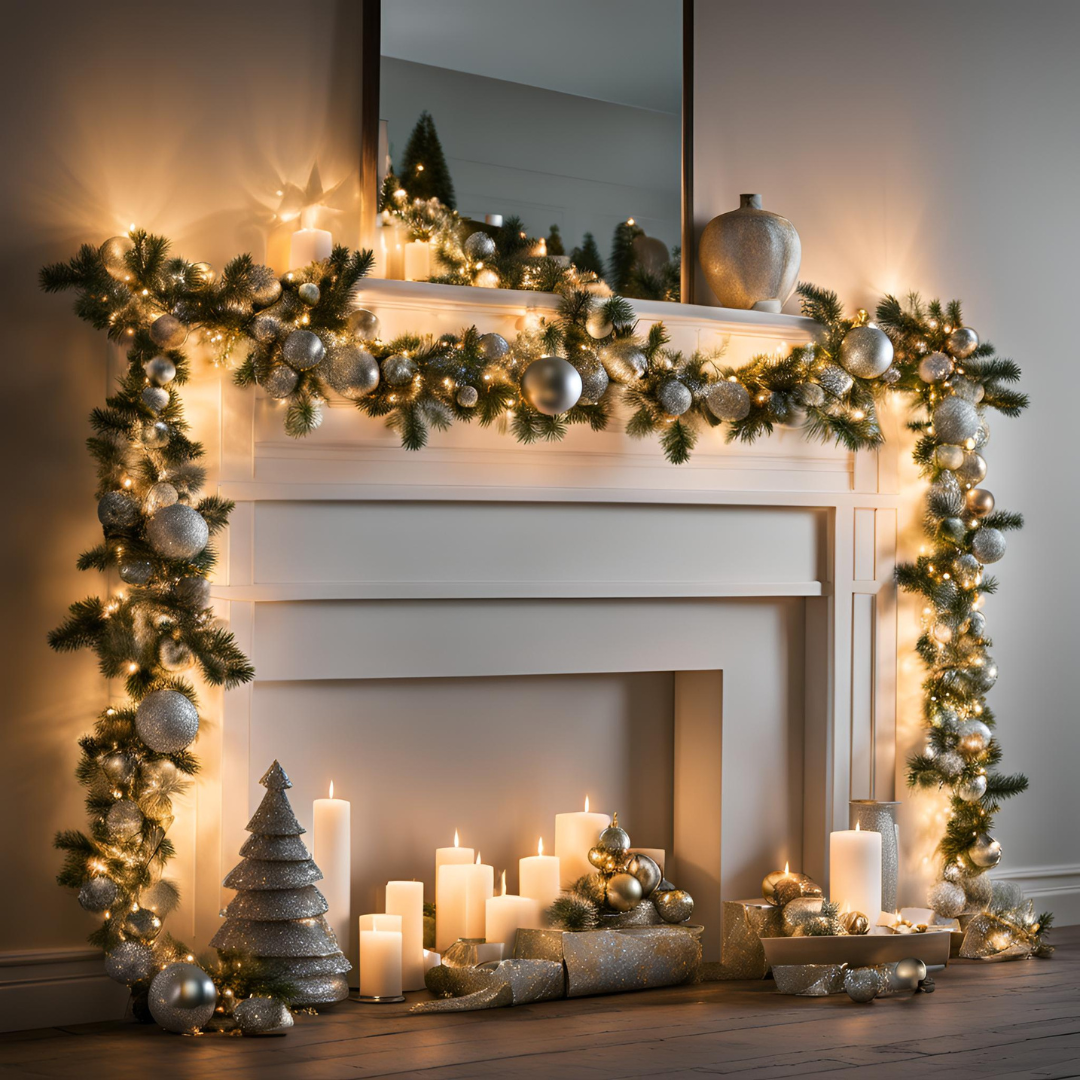
How to Make Handmade Christmas Garland to Hang Around
Your Home 🎄✨
The holiday season is upon us, and it’s time to turn our
homes into festive wonderlands. If you’ve been scrolling through Pinterest,
admiring beautifully styled garlands draped over mantels or stair rails, you
might be wondering how to get in on the action. The good news? You don’t have
to spend a fortune on store-bought garland when you can create your own
homemade masterpiece that’s as unique as your holiday spirit (and possibly even
sparkly enough to blind your guests with cheer). So grab your glue gun, your
scissors, and maybe even a little bit of glitter (because honestly, who doesn’t
love a good glitter bomb?), and let’s get crafting!
Step 1: Choose Your Materials 🎨
First, you need to decide what kind of holiday mood you’re
going for. Are you envisioning a classy, understated garland that looks like it
belongs in a five-star hotel lobby? Or are you leaning into the rustic vibes
with burlap and pinecones? Maybe you’re the kind of person who would put tinsel
on a tree, then proceed to wear tinsel on your hair (no judgment, it's a
festive look).
Here are some materials to consider for your garland
creation:
- Fresh
Pine Branches – For that authentic forest vibe and the smell. Oh, the
smell. If you can’t make it to the forest, at least you’ll have a mini
forest hanging in your home.
- Faux
Greenery – Because, let’s be real, the last thing we need is to be
cleaning up needles in March. Faux greenery will stay green and beautiful
throughout the season (and possibly well into next year—no shame in
that!).
- String
Lights – Because Christmas is basically a glow-up, and no garland is
complete without twinkling lights.
- Pinecones,
Berries, Ribbons, Ornaments – To add that festive flair that says,
“Yes, I am that holiday decorator.”
Once you’ve picked your materials, it’s time to get down to
the fun stuff.
Step 2: Craft Your Garland Base 🪡
Now that you’ve chosen your materials, let’s start with the
base. Grab some wire or twine, because you’ll need something sturdy to hang
everything on. Think of it as the foundation of your holiday empire.
- If
you’re going for fresh greenery, wire works best. Start by laying down
your pine branches and securing them end to end, slightly overlapping each
piece for that rich, full look.
- If
you’re feeling more fabric-savvy, you can cut strips of fabric (think
flannel, velvet, or plaid) and tie them around twine. This way, you can
create a garland that’s as cozy as your favorite holiday sweater (which is
probably covered in some form of festive glitter, right?).
Take your time with this part. The goal is to get a base
that’s sturdy enough to hold all the ornaments, but also lush enough that it
makes your house feel like it belongs in a Hallmark movie.
Step 3: Add Decorations 🎁
Now it’s time to bring out the big guns: the ornaments, the
twinkling lights, and maybe a few strategically placed pinecones that will look
like you spent hours in the forest collecting them, when really, you just
grabbed a pack from Target.
- String
Lights – Wrap your garland with string lights, because what’s a
holiday decoration without a little sparkle? Go for white lights for a
classic look, or get colorful if you’re feeling like throwing a holiday
party on your walls.
- Pinecones,
Berries, and Ribbons – Add some texture and color with these festive
pieces. You can even dip the pinecones in glitter for a little extra
holiday magic (because what’s the holiday season without glitter?).
- Small
Ornaments – You know those cute mini ornaments you never know what to
do with? This is the perfect place for them. Hang a few on your garland,
and suddenly, your DIY project looks like it came straight from a
designer’s collection.
Step 4: Hang It Up Like a Pro 🏠
Once you’ve decorated your garland, it’s time to show it
off. You’ve earned it! Whether you’re draping it over the mantel, wrapping it
around your staircase, or hanging it across your doorframe, make sure you hang
it securely with command hooks or nails (because your garland is about to get
heavy with all that beauty).
Stand back and admire your work. It’s fabulous, it’s
festive, and it’s totally you. Just remember, the more you admire it, the more
likely someone else will notice it, so don’t be shy when guests come over. If
you need to, casually mention that you did make it yourself. 😉
Step 5: Get Fancy with Finishing Touches ✨
Alright, your garland is looking great, but can it shine
even more? Absolutely. Add a finishing touch to take it from good to great.
Maybe a giant bow at the top? A sprig of mistletoe in the middle for those
perfectly timed kisses? Or—wait for it—some more glitter, because, honestly,
who doesn’t need more sparkle in their life?
The best part? No one will ever know how easy it was to
create this masterpiece (except, you know, for the fact that you’re reading
about it right now). All they'll see is a beautiful, festive garland that looks
like it took hours of planning—and a bit of holiday magic.
Final Thoughts
Congratulations, you’ve made a homemade Christmas garland
that’s ready to deck your halls and spread cheer to everyone who lays eyes on
it. The best part? You did it yourself, which makes it even more special. Plus,
every time someone compliments it, you get to say, “Oh, this little thing? Just
something I threw together… between sips of eggnog and Christmas cookies.” 🎄✨
So go ahead, hang that garland with pride, and let the
holiday magic fill your home. Happy crafting and happy holidays!


