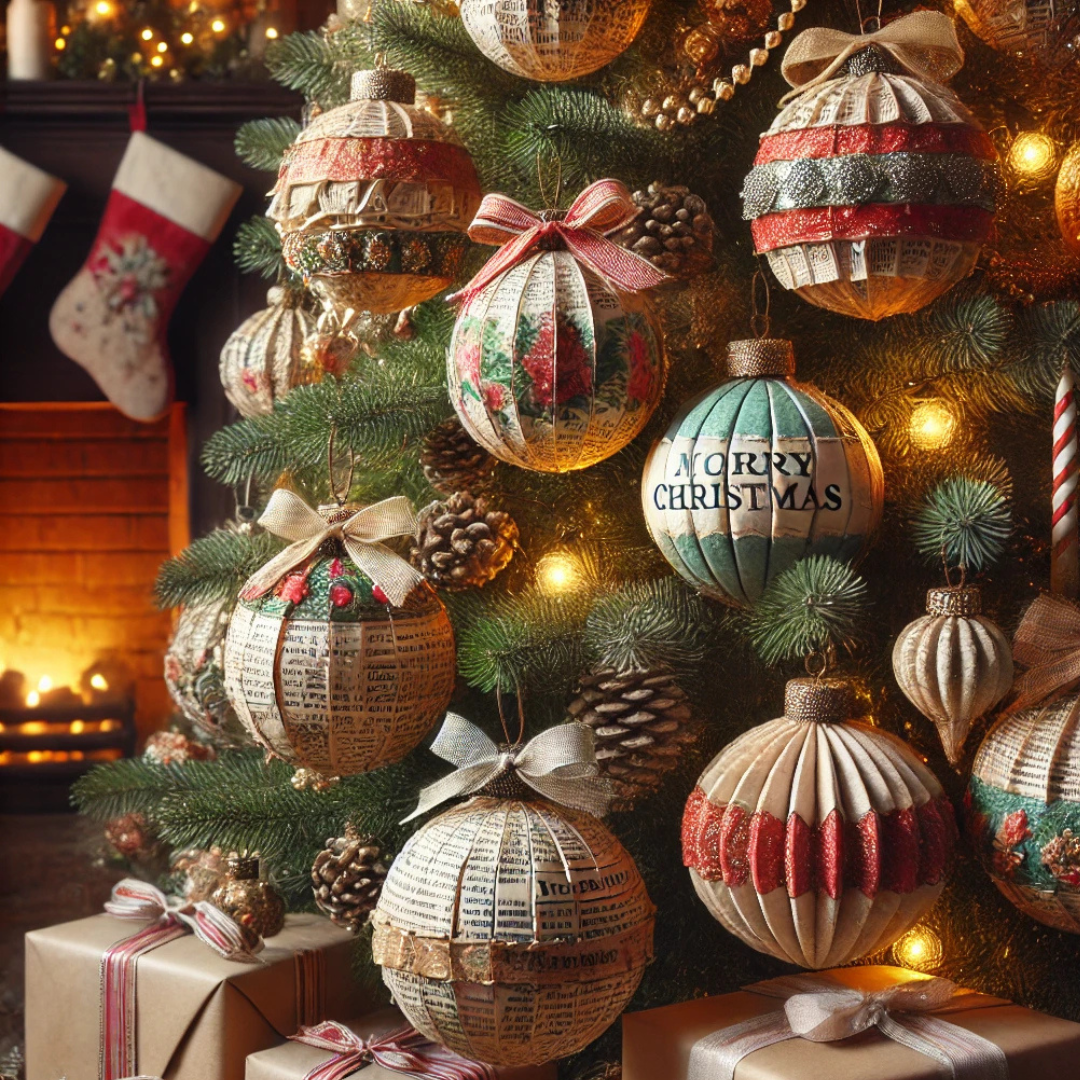
Handmade Paper Mâché Christmas Ornaments for a Vintage
Feel 🎨
If you're looking to add a touch of vintage charm to your
holiday decor this season, why not try crafting your very own paper mâché
Christmas ornaments? Not only are they fun to make, but they also bring that
perfect nostalgic, old-timey vibe to your tree. And the best part? Even if you
end up with a little bit of a mess, it’s still considered art!
Here’s a simple guide to creating your own handmade
ornaments that’ll make your tree sparkle with retro magic.
What You’ll Need:
- Newspaper
(The older, the better for that authentic vintage look)
- Flour
(Yes, the same flour you bake with—no fancy powder needed here!)
- Water
- Balloon
(To form your shape) or Plastic Ornament Forms
- Glitter,
Paint, and Ribbons (For decorating, of course!)
Step-by-Step Instructions:
1. Make the Paper Mâché Paste
To start, you'll need to create your paper mâché paste.
In a bowl, mix 1 part flour with 2 parts water. Stir the mixture until it’s
smooth—aim for no lumps. (We're going for chic, not chunky!)
2. Tear the Newspaper
Next, tear the newspaper into strips. It doesn’t matter
if they’re large or small—just be sure to tear like you’re at an art school,
not frantically trying to finish an assignment. The irregularity of the torn
edges will add to the charm of your ornament!
3. Apply the Paste
Now, the fun part! Dip each newspaper strip into your
flour paste, ensuring it's fully covered. Carefully lay the strips over your
balloon or plastic ornament form. Smooth them down to avoid wrinkles—unless
you're going for that "accidentally artistic" look! Layer 3 to 4
pieces of newspaper for a sturdy, durable ornament.
4. Pop the Balloon
Once your ornament is completely dry (give it a few hours
to ensure it’s set), carefully pop the balloon and remove it from the inside.
Voilà—you now have a solid, vintage-inspired ornament base!
5. Decorate!
This is where your creativity really shines. Paint your
ornament in classic holiday colors, dust it with glitter, or wrap it with
ribbons for that extra sparkle. You can even add little buttons or tiny vintage
charms to give it a more personalized, old-fashioned touch. The possibilities
are endless, so go ahead and make it shine like it’s straight out of a retro
holiday catalog!
Tips for a Truly Vintage Look:
- Old
Newspaper: If you want to go all-in on that vintage feel, use actual old
newspapers (or at least print on a faded, yellowing paper). The yellowish
hues will help enhance the nostalgic look.
- Retro
Colors: When decorating, stick to traditional Christmas colors—think reds,
greens, golds, and whites—or get adventurous with soft pastels for a more
unique retro vibe.
- Mixing
Materials: Add texture by mixing different materials into your
decor—vintage lace, tiny buttons, or even old-fashioned tinsel!
Final Thoughts:
Handmade paper mâché ornaments are a charming and
creative way to add a vintage touch to your Christmas tree. They’re easy to
make, customizable, and, best of all, full of character. Plus, they’re perfect
for getting the whole family involved in some holiday crafting fun. So, gather
your materials, roll up your sleeves, and start creating ornaments that will
add a bit of history to your holiday season!


